Sep 30, 2026
How to Prevent Burn-Through and Heat Distortion in Handheld Laser Welding?
For thin sheet metal handheld laser welding, adjust laser power, travel speed, wobble and shielding gas to avoid burn-through & heat distortion. Test on scrap metal first.
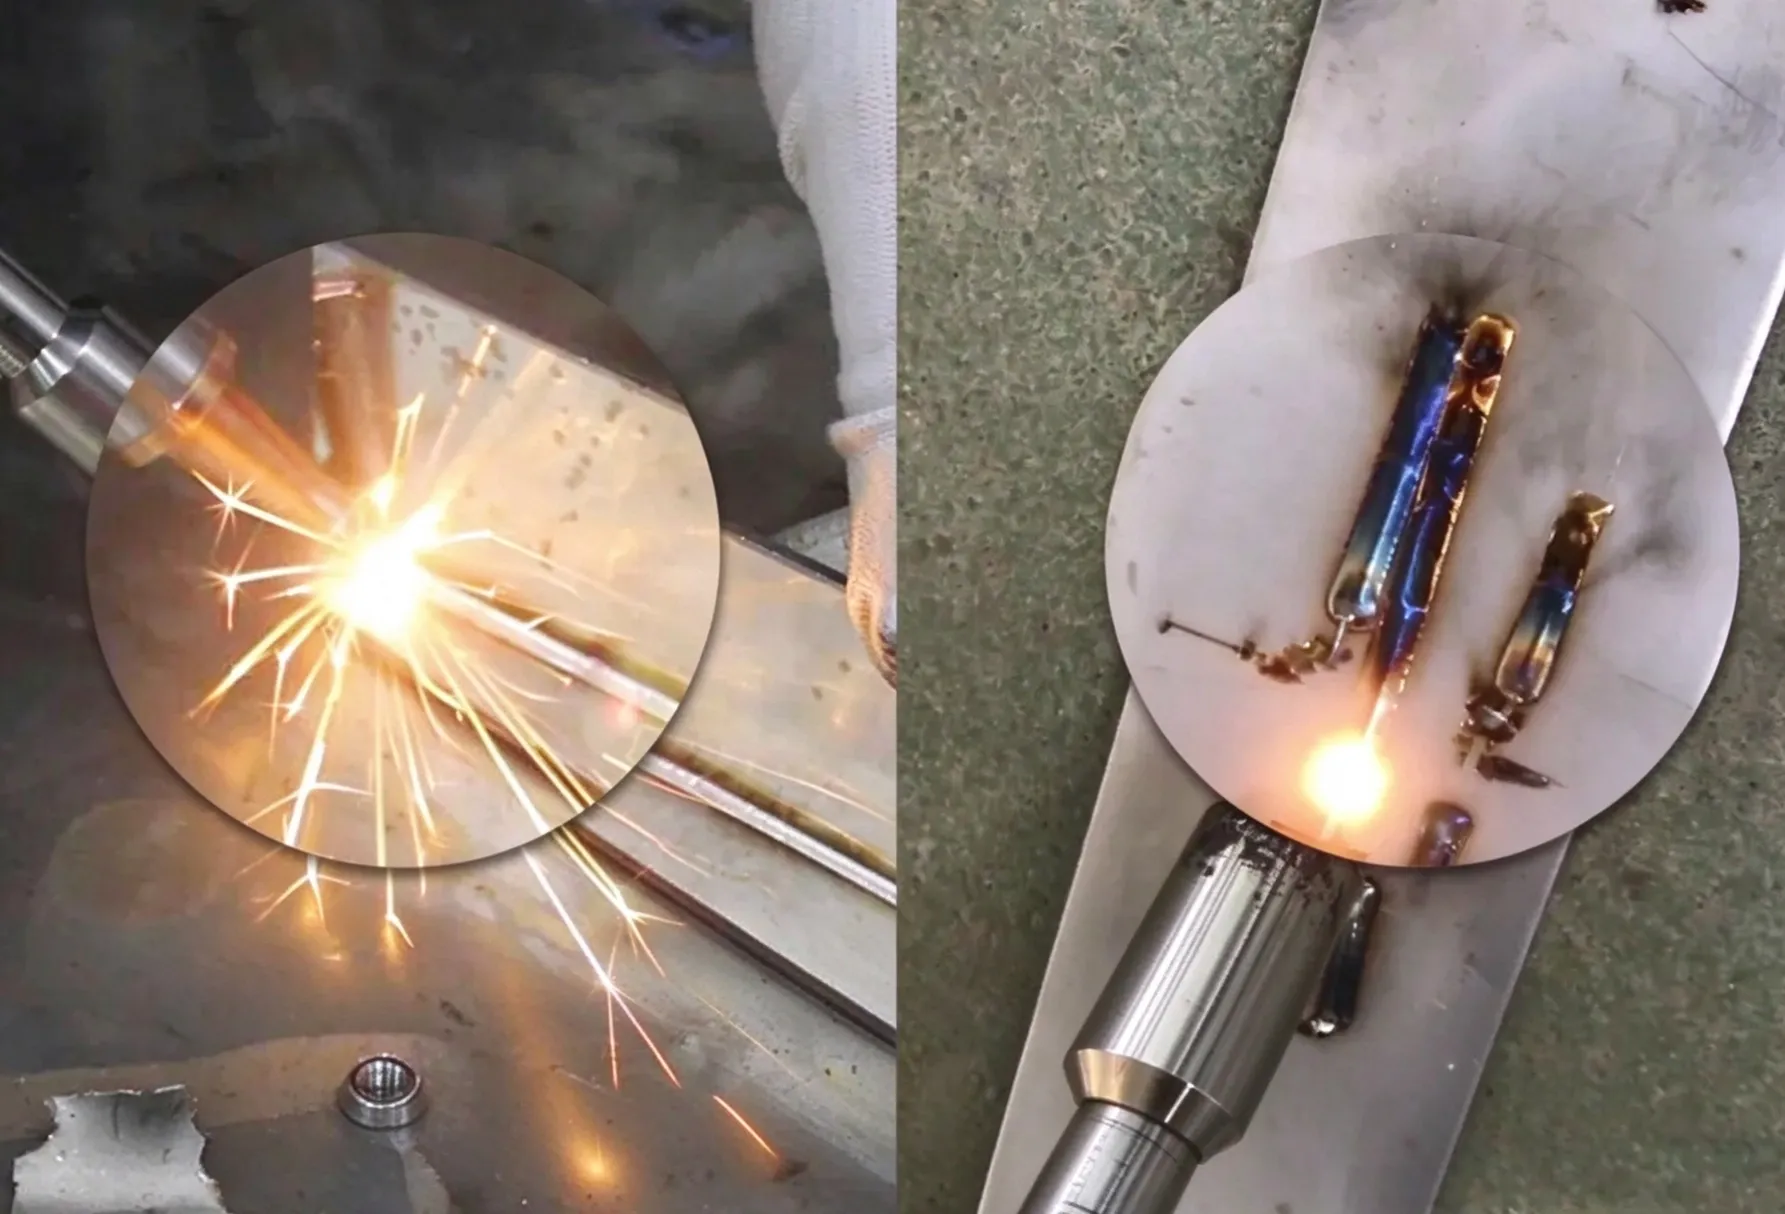
Handheld laser welding provides low overall heat input compared to traditional TIG or MIG welding. However, when working with thin sheet metal (under 2.0 mm), incorrect parameters or technique can still cause burn-through, warping, or excessive heat discoloration.
Controlling thermal input is essential for achieving flat, aesthetically pleasing weld seams with minimal post-weld grinding.
Key Causes of Burn-Through and Distortion
- Excessive Laser Power: Overpowering thin sheet metal melts through the joint before the weld pool can stabilize.
- Slow Travel Speed: Moving the welding torch too slowly concentrates energy in a localized area, building up excess heat.
- Improper Wobble Settings: Using a narrow wobble width or low frequency creates a pinpoint beam that pierces thin sheet metal easily.
- Poor Joint Fit-Up: Large gaps between sheet metal edges leave no material to absorb energy, causing the laser beam to blow through the seam.
4 Steps to Control Heat Input
1. Optimize Wobble Parameters
- Wobble Width: Set a wider scanning width (typically 2.0 mm to 4.0 mm) to disperse laser energy evenly across the joint instead of concentrating it on a single point.
- Wobble Frequency: Increase the beam scanning frequency to keep the laser moving rapidly across the puddle.
2. Increase Travel Speed
- Laser welding relies on continuous, rapid forward movement.
- Do not wait for a large puddle to form as in TIG welding; move the torch steadily at 3× to 5× typical TIG speeds.
3. Utilize Wire Feeders for Gap Bridging
- When gap tolerances exceed 0.5 mm, enable the automatic wire feeder with small-diameter wire (0.8 mm to 1.0 mm).
- The filler wire acts as a heat sink, absorbing excess laser energy and filling the gap to prevent blow-through.
4. Adjust Shielding Gas Type and Flow
- Use Nitrogen for stainless steel and carbon steel to achieve cooler, cleaner, and oxidation-free weld seams.
- Maintain gas pressure at 0.2 to 0.3 MPa to cool the surrounding heat-affected zone (HAZ) while shielding the weld pool.
Troubleshooting Guide
- If burn-through occurs immediately: Reduce laser power by 10–15% and increase travel speed.
- If sheet metal warps after cooling: Use tight mechanical clamping or copper backing bars to draw heat away from the workpiece.
- If the weld seam appears oxidized or dark: Increase gas flow or check for torch angle back-reflections.
Pro Tip: Always run a test pass on a piece of scrap metal of the exact same alloy and gauge before welding finished parts. Locking in speed and power on scrap eliminates costly material waste.